

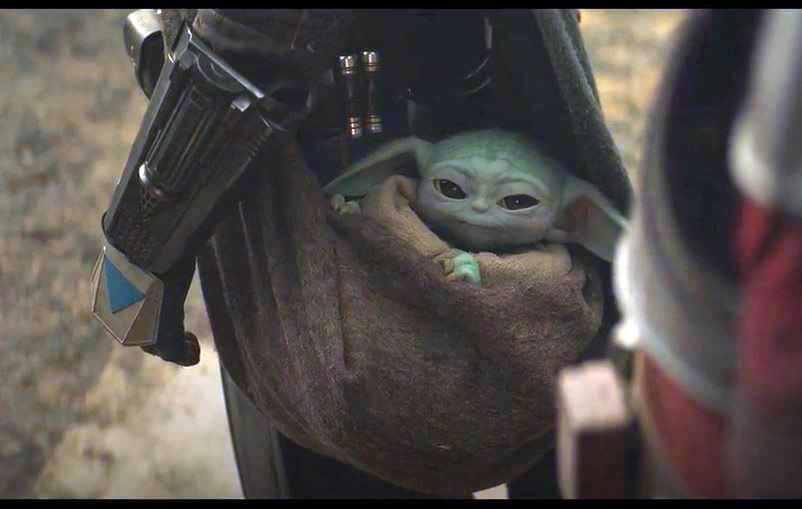
This is my interpretation of the Mandalorian Baby Yoda crossbody bag. It’s hard to see the details, but my best guess is that it is constructed with a side seam and in a fabric that lends itself to the slouchy look. Here’s a close up of the fabric, a wool blend might be a good choice. (I used a grey blanket from the thrift store, which I will dye brown.)

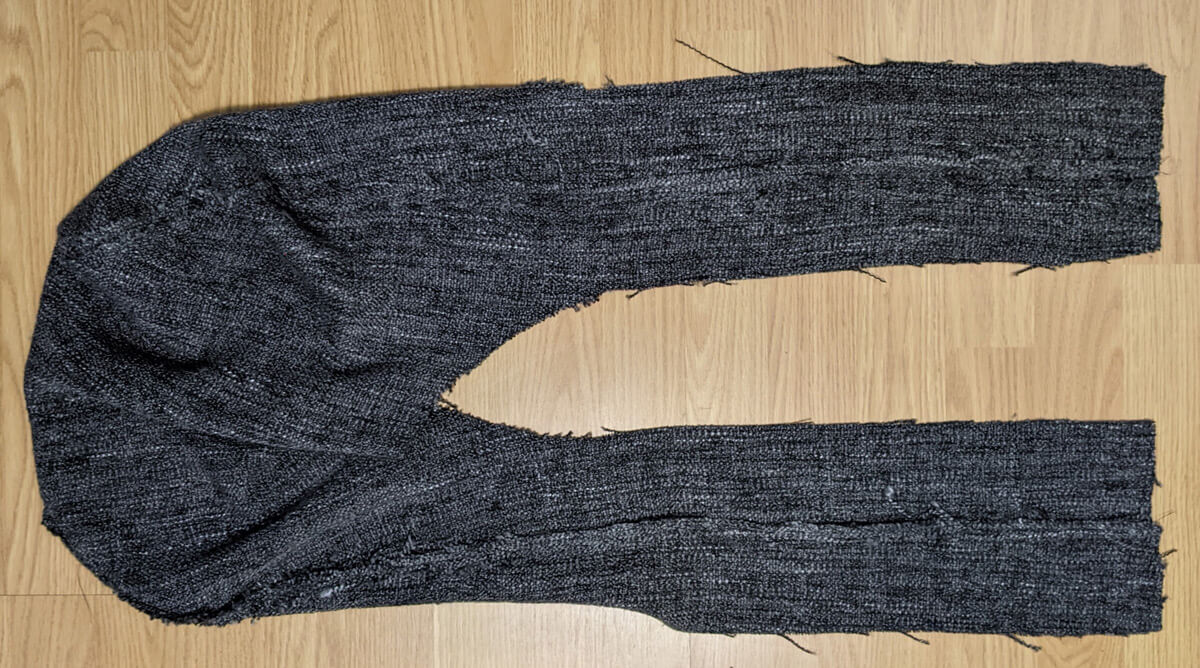
I used the video below as a guide to making this Mandalorian baby bag, with some alterations. First you’ll need to create a paper pattern. I’ve marked measurements for a bag that will fit a person about 5,5 in height. Add to the strap length if you are taller. You’ll need 2 pattern pieces, for the bag and for the strap frayed details.
Place your pattern on 2 folds of fabric as marked. If you can’t fit it onto your fabric you can just cut across the bottom instead. (It looks like the seam is only on the sides but you can continue it along the whole bottom, as the video shows.) (Skip the box corners, you want a more curved shape. And obviously skip the button also.)


You should end up with an inner liner piece, an outer piece, and 5 strap detail pieces. You can use the same fabric for the liner or use some other fabric.

Pin lining bag with right sides together. Stitch on both side edges. Turn right side out and press seams flat. Repeat with other outer bag piece.
Slide one bag inside the other. Pin both bags with right sides together. Leave 5 inches open from top edges of strap ends. Stitch where pinned.

Now do the other side but this time leave a 4-5 inch opening at front center. You’ll need this opening to flip the bag inside out. (Scissors are pointing to the open area.) (If you didn’t use bottom fold, then do the same as the video shows.)

Flip the bag inside out through the hole at the centre front. Your bag should now look like this. Press the seams flat. Almost done!

Now grab the 5 detail pieces. With them folded in half, stitch down one end. Flip inside out so you have 5 tube shaped pieces. Fray the ends as much as you like.

Now slide them onto the strap pieces. Place 2 on one side and 3 on the other. They can slide around freely for now.

Now we connect the two strap ends. But first, try on the bag crossbody style to check if the strap length is the right length for your body height.
This part is easier to show then tell. Watch the video at 13:40 on how to stitch the ends. Join the ends, stitch together lining strap with lining strap, outer strap with outer strap. Press those seams flat.

Finish closing up the strap opening and top stitch just that small area (don’t top stitch all around like in the video). Don’t worry if this part turned out messy. One of the detail tubes will cover it.

Now slide the 5 detail pieces so that one is centered at the top shoulder area, 2 spaced out in front, and 2 spaced out in the back. Use adhesive hemming tape to attach the detail tubes to the straps. And lastly slip stitch by hand the front opening. DONE!

My foundling is a bit bigger and heavier than Baby Yoda who is about 16 inches tall on screen. This crossbody bag size should work for most store dolls and hang a bit more slouchy.

Keep Reading: >>
Thanks for sharing! Just shortened the strap a bit for my 8 year old and now his Mandalorian Halloween costume is complete. His bag will hold his stuffed Grogu and his candy.
Thank you for sharing this awesome information and creative patterns for the bag
Great job. Very good interpretation of the bag.